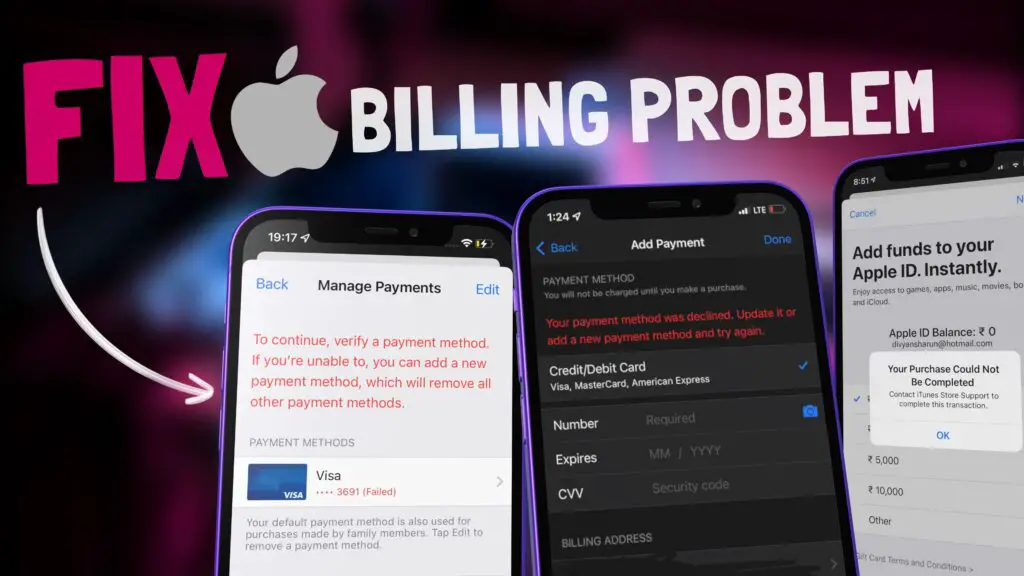
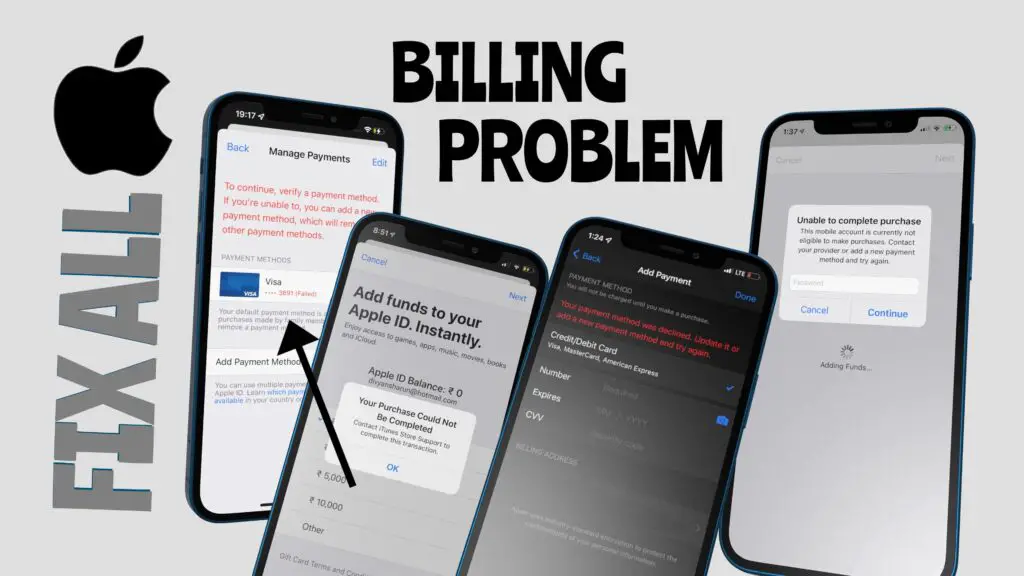
Are you seeing a “payment method declined” error or having trouble purchasing or downloading apps, even free ones, from the App Store on your iPhone or iOS device? Don’t worry—you’re not alone. Many iOS users face this issue, especially when trying to upgrade services or download apps, and there’s a simple solution to fix it. In this article, we will walk you through various steps to resolve these problems, so you can easily make purchases, download apps, and upgrade your iCloud plan without any hassle.
Why Does the “Payment Method Declined” or “Unable to Download App” Error Occur?
There could be several reasons why you’re seeing these errors on your iPhone:
1. Expired Payment Method: Your credit or debit card may have expired.
2. Recurring Payment Restrictions: Some countries, including India, have new regulations that no longer allow certain payment methods for recurring subscriptions.
3. Insufficient Funds: There may not be enough balance in your Apple Wallet or payment account.
4. Apple ID Password Issue: Sometimes, the App Store may prompt you to re-enter your Apple ID password.
Now that we know why these issues occur, let’s dive into how you can fix them.
Step 1: Understanding the “Unable to Complete Purchase” Error
One common issue users face is during an upgrade or purchase of services like iCloud storage plans. For instance, if you are trying to upgrade your iCloud plan from 50 GB to 200 GB, you might encounter the message: “Unable to complete purchase” with a prompt to enter your Apple ID password.
Here’s what you need to do:
1. Enter Your Apple ID Password:
– After receiving the error message, enter your Apple ID password when prompted.
– If you’ve forgotten your Apple ID or iCloud password, you can reset it by following Apple’s instructions. You can find a complete guide on how to reset your iCloud password through the blog link provided below.
Click here to see the process to reset your Apple ID Passoword
Step 2: Adding Money to Your Apple Wallet
Many users may be unaware that Apple has restricted the use of certain recurring payment methods, like credit cards, in specific countries. As a result, the best solution is to add money to your Apple Wallet in advance, which will allow you to make purchases and renew app subscriptions using the wallet balance.
Here’s how to add funds to your Apple Wallet:
1. Go to Settings: Open the Settings app on your iPhone.
2. Select Payment and Shipping: Scroll down and tap on Payment & Shipping.
3. Add a Payment Method: Tap Add Payment Method. In India, for example, you can add money through UPI or net banking. In other countries, you may also have the option to use a credit card or debit card.
– To check the available payment methods in your country, refer to the article linked in the video’s description or in the pinned comment.
4. Enter UPI ID (For Indian Users): If you’re in India, you can easily add your UPI ID by selecting the UPI option and entering the ID.
Step 3: Adding Funds to Your Apple Wallet
Once you’ve successfully added a payment method, the next step is to load money into your Apple Wallet. Here’s how:
1. Click on “Add Funds”: In the same Payment & Shipping section, just above the “Add Payment Method” option, you’ll find the Add Funds option. Tap on it.
2. Choose the Amount: Select the amount of money you want to add to your Apple Wallet. You can add small amounts or larger sums depending on your needs.
3. Complete the Payment: After selecting the amount, click on the Next button. Complete the payment using your added UPI ID or the method you’ve selected. Once the transaction is complete, the funds will be immediately added to your Apple Wallet.
Step 4: Using Apple Wallet Funds for App Store Purchases
Once the funds are in your Apple Wallet, they will be used automatically for any App Store purchases or iCloud subscription renewals. This method ensures that you don’t face any recurring payment issues, especially in countries where credit card payments for recurring services are restricted.
By keeping your Apple Wallet topped up, you can easily avoid the hassle of seeing errors while purchasing apps, upgrading iCloud, or renewing subscriptions. Plus, using UPI and net banking in India is a quick and seamless way to manage payments on your iPhone.
Bonus Tip: Check Your Payment Method Regularly
If you frequently make purchases on the App Store or have multiple subscriptions, it’s important to keep your payment method updated. If you move to a different country or change banks, make sure your payment details are updated to avoid any disruptions in service.

### FAQs
Q1: Why am I unable to download even free apps from the App Store?
Sometimes, even free apps require you to verify your payment method, especially if there’s an issue with your Apple ID or linked payment information. Ensure your Apple ID is logged in correctly, and your payment method is up to date.
Q2: How can I reset my Apple ID password?
You can reset your Apple ID password by following Apple’s official instructions.
Click here to see the process to reset your Apple ID Passoword
Q3: What payment methods are available in different countries?
Payment methods vary by country. In India, UPI and net banking are commonly used, while other countries may offer credit and debit card options. You can find a complete list of accepted payment methods in the article linked in the description or the pinned comment.
Conclusion: Why Adding Funds to Apple Wallet is the Best Solution
With Apple’s new restrictions on certain recurring payments, especially in countries like India, adding funds to your Apple Wallet in advance is the most reliable way to ensure smooth transactions. By following the steps outlined in this guide, you can easily top up your Apple Wallet, avoid payment errors, and enjoy uninterrupted app services.
Remember, it’s essential to keep your Apple ID secure and your payment method updated to avoid these issues in the future. Whether you’re upgrading your iCloud plan, buying an app, or renewing a subscription, having funds in your Apple Wallet guarantees a hassle-free experience.
For more helpful tips and troubleshooting advice, refer to the blog links and articles provided in the description or pinned comment!


