Discord is a proprietary freeware instant messaging and VoIP application and digital distribution platform designed for creating communities ranging from gamers to education and businesses. Discord specializes in text, image, video and audio communication between users in a chat channel.
Discord is especially useful if you’re trying to play PC games. The app makes chatting pretty easy, and offers search functions that can help you find other people and add them to a friends list for quick communication. Lots of people use it not just for talking to each other while playing games, but as an organizational and social tool.
Thanks to this breadth of functionality, users have also embraced Discord as a semipublic, forum-style community platform: Groups of players with common interests, such as fans of a particular game or studio, can create or join “servers,” both public and private, where lots of people can meet and hang out, chatting via text, video, or voice.
While most of the servers are related to gaming, you can also find public Discord servers that focus on a variety of topics, including things like anime, cryptocurrency, self-improvement, and just making friends and hanging out. There’s also nothing requiring servers be created for gaming, so if you want a place in Discord to discuss a topic, you can always make one. Handy places to find and search for public servers include Discord.me, Disboard.org and Discordservers.com.

Check The First Part – What Is Discord?
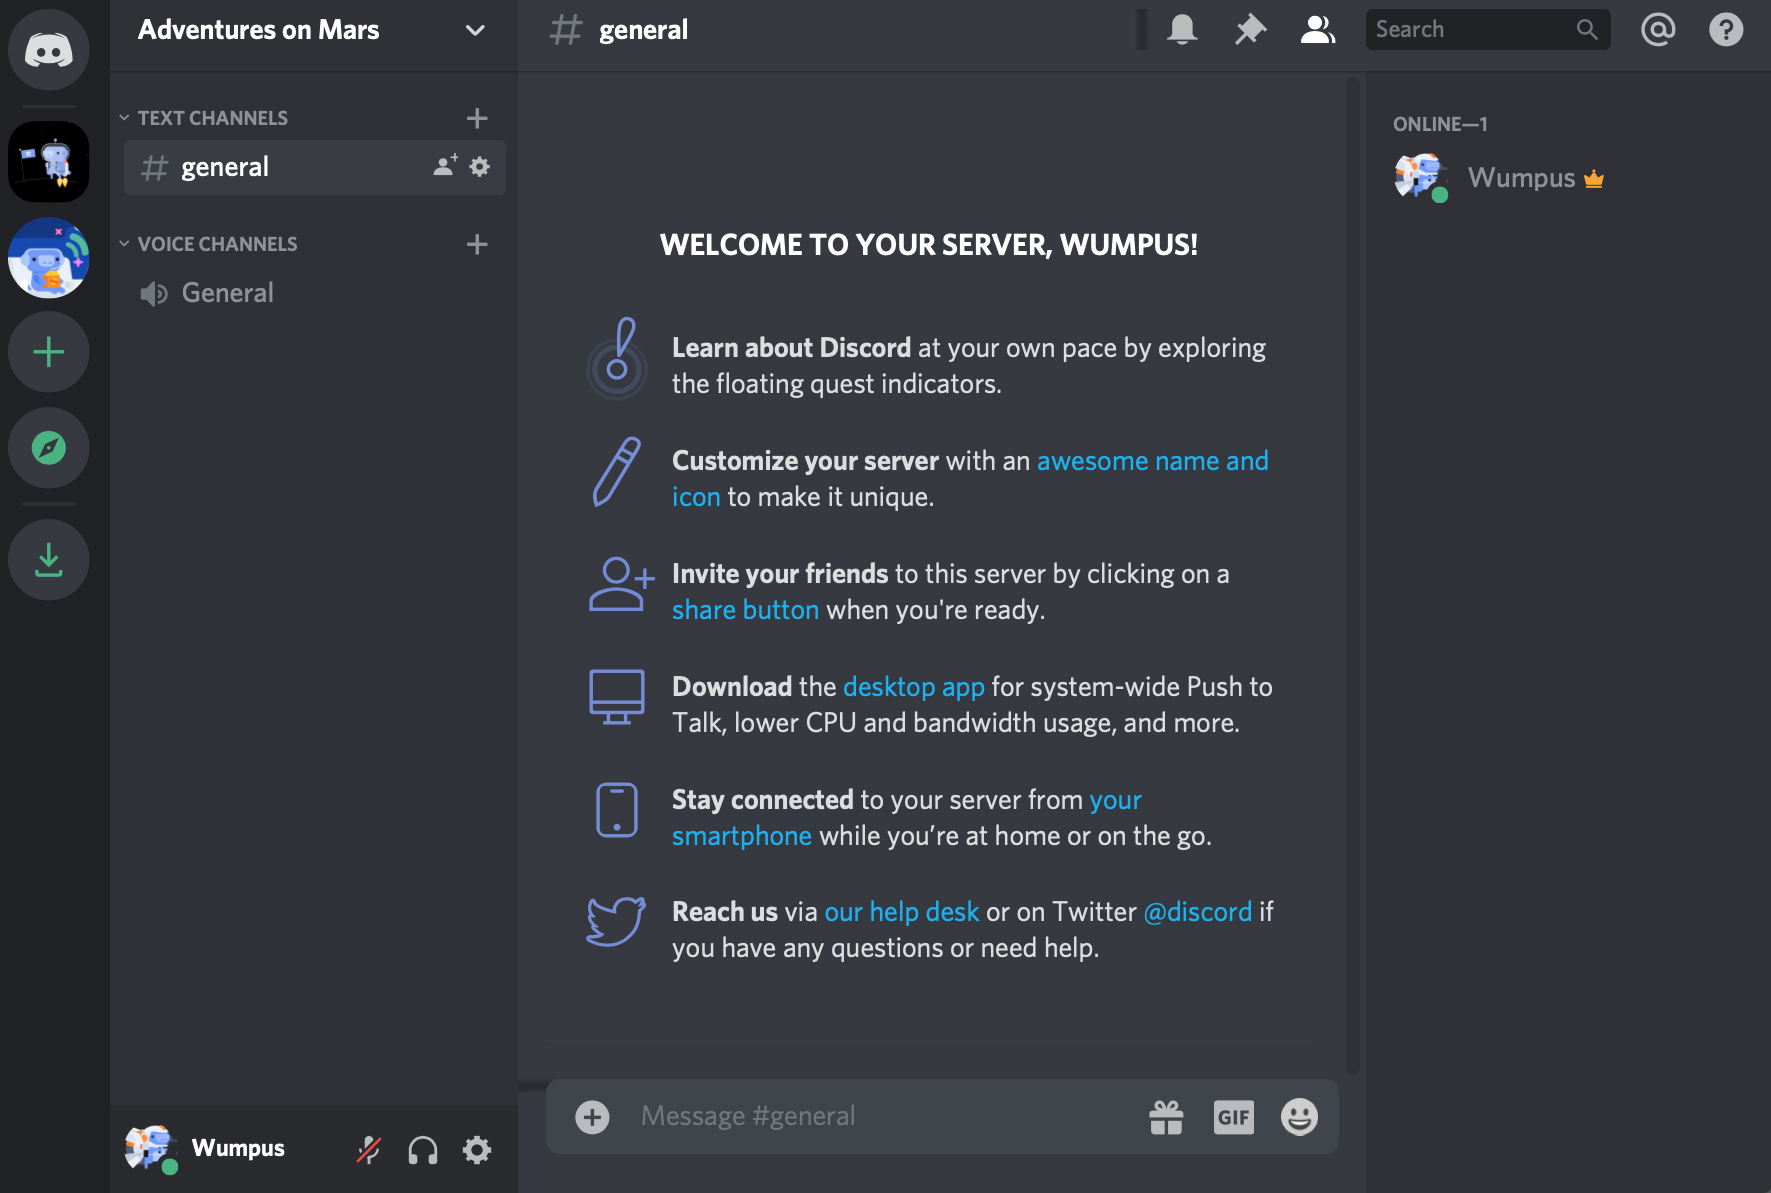
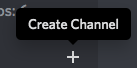
1. Click the “+” button on the left hand column
No matter if it’s the first, second, or third server you’ve made, this is the place you’ll need to go. Note that the “+” icon can be hidden if you have a lot of servers. Simply scroll down the server column on the left to find where the “+” is hiding.
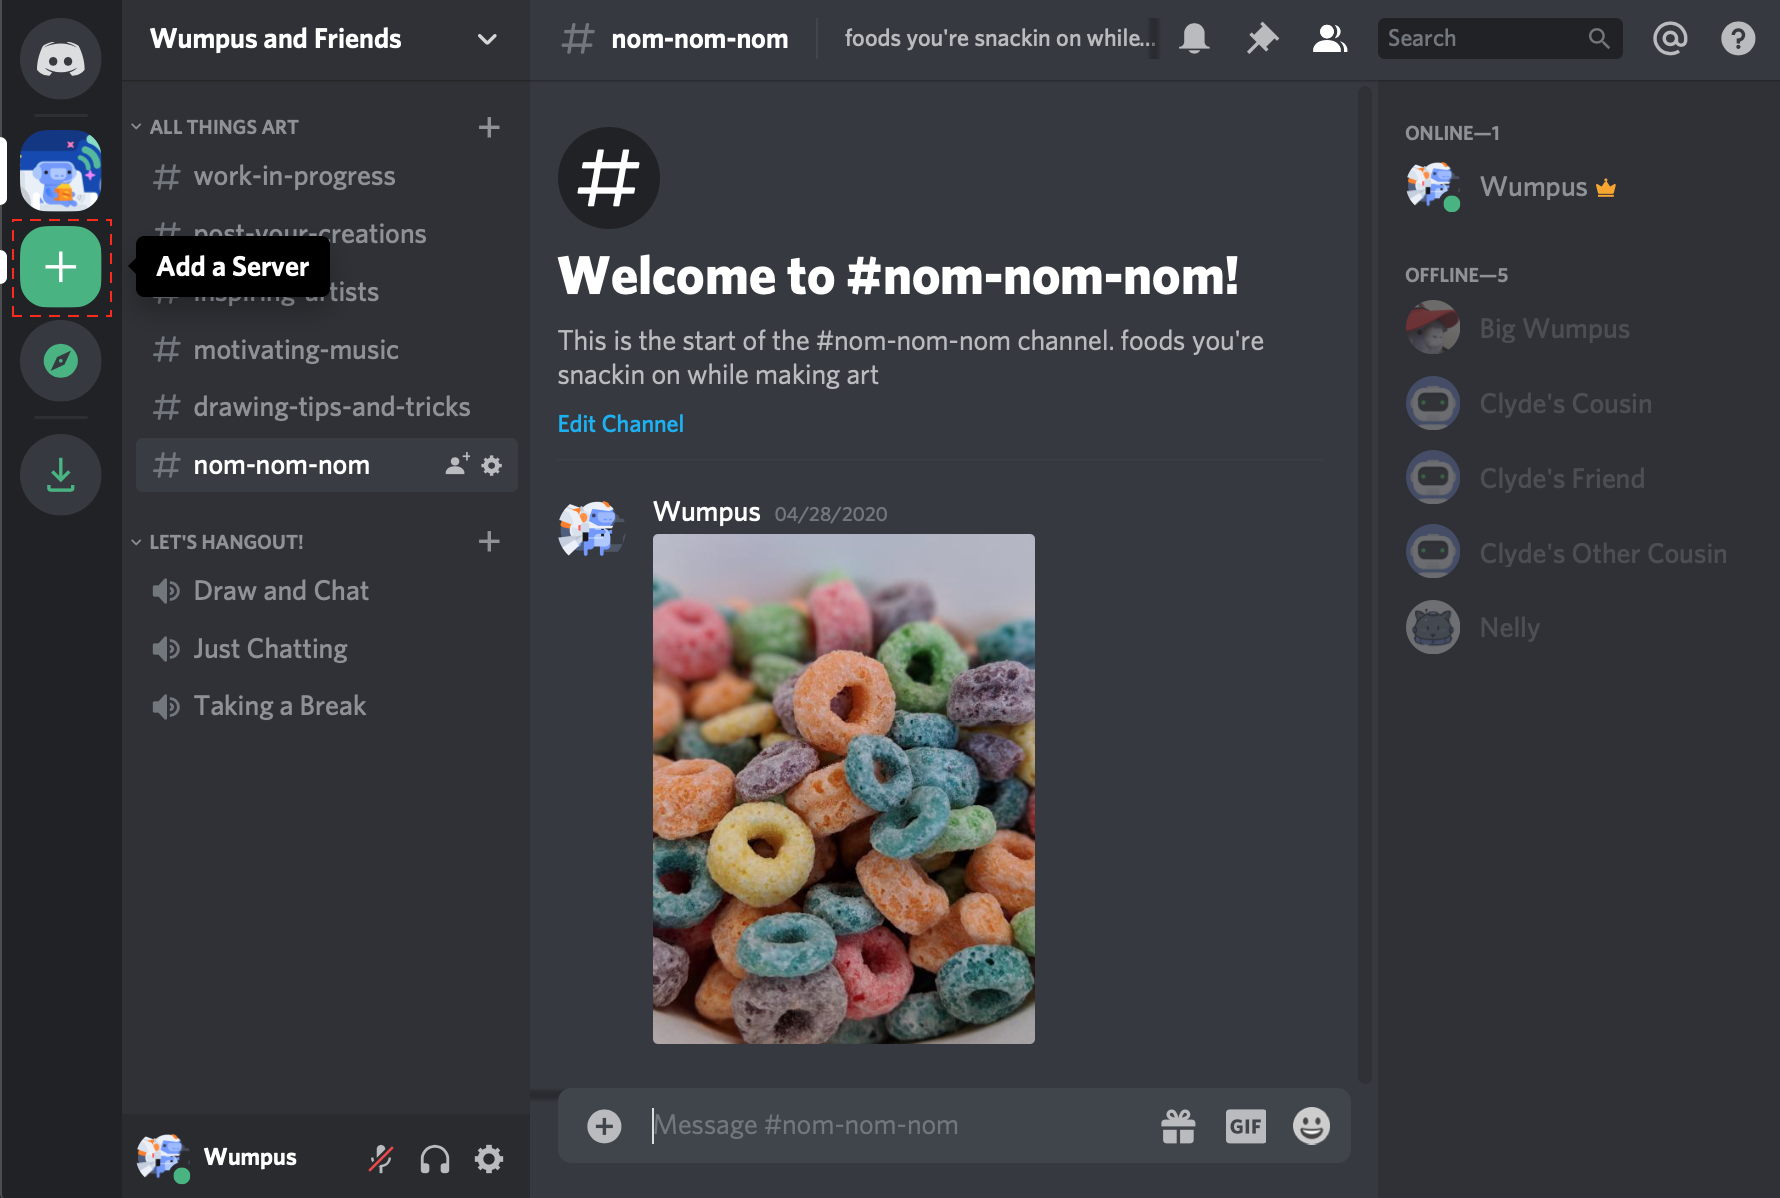
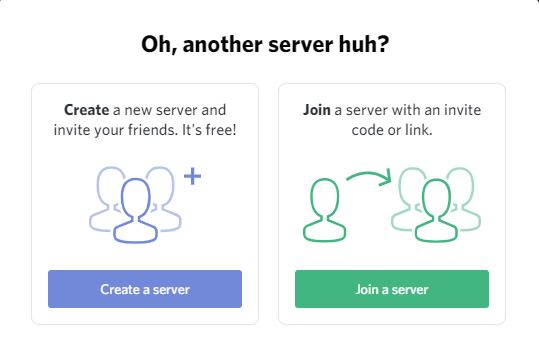
The next window that appears will give you two options: “Create” or “Join.” We’re going to choose “Create” so just pretend like “Join” doesn’t even exist (don’t worry if it gets jelly).
2. Adding Server Info
After deciding between doors number one and two, you can enter in the server name, and change the server icon by locating it in your files.
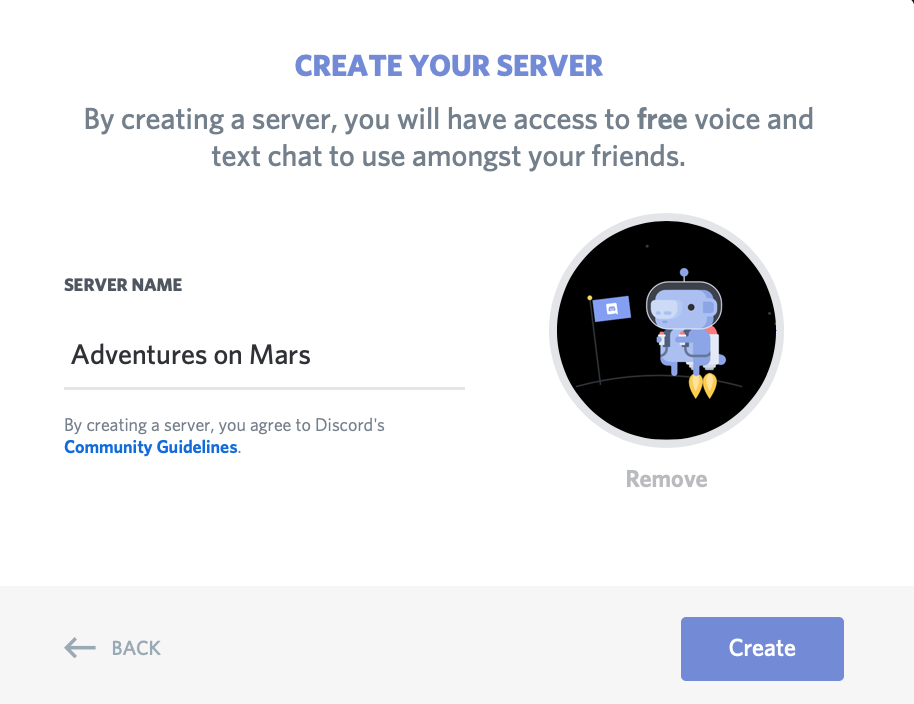
The minimum size for icons is 128×128. If you’d like to select a specific area from a large image, crop it in multiples of 128 (128X2=256, 128X3=384, etc.).
Click “Create” and bada-bing-bada-boom, CONGRATS! You’ve created your first server!
After Making Server, Add Channels –

Now You Need To Join Someones Server And Take Idea Of Channels You Want To Add According To You. Join This Server To Get An Idea- Click Here
The Basic Channels-

You Can Talk With Your Members, Chat, Share Your Screen, Play Songs, Connect, etc.
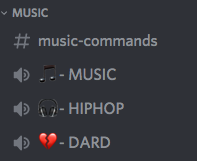
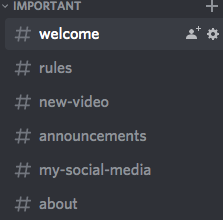
Channels
The key to good channel structure is keeping important information easy to find, and categorizing everything as appropriate. An example of a structure for a “Minecraft Redstone” server might be:
 ⌵ Information
   # rules
   # announcements
   # contests
 ⌵ General
   # lobby
   # off-topic
   🔊 Voice
 ⌵ Projects
   # survival_redstone
   # creative_redstone
   # command_blocks
   # map_sharing
 ⌵ Mods
   # mod_chat
   # mod_log
Roles
- “Member” Roles – “Member” roles (or equivalent) can be useful if you want members to agree to a set of rules (usually via a bot command) or if you want to check out people before manually giving them the role and letting them join the server. DO NOT have a bot give every single new member a role right when they join. Why? Giving everyone a role prevents some of Discord’s useful features from being possible. The most important is the Verification Level. For large servers, it is important to make sure that all users have verified accounts (linked an e-mail to their account) to avoid spam and raids. However, the server’s Verification Level does not apply to anyone with a role, so if you give everyone a role when they join, you are essentially setting your server Verification Level to “None” and leaving yourself wide open to all kinds of attacks. Additionally, the “Prune Members” feature becomes useless as you cannot prune members with roles.
- Staff/Mod Roles – I often find it useful to have a colorless role that is given to all Staff (regardless of what kind of staff) to keep the sidebar more organized (I make sure the “Display role members separately from online members” is checked for ‘Staff’ and unchecked for the other roles). Then, each type of staff has a role with a name and color corresponding to the type of staff they are (Moderator, Event Manager, etc).
- Bot Roles – Never give bots more permissions than they need!! This is extremely important and a mistake that a lot of people make. Remember, if you give a bot a permission, you are effectively giving that permission to anyone with the bot’s token. Usually this is just the owner of the bot, but if they are careless and leak their token, it could be anyone. Most bot invite links come with a preset list of permissions, but if you want to add the bot without giving any permissions right away (and giving the permissions manually later), you can remove the
&permissions=NUMBERSsection of the invite link.
Also Read – What Is Discord? New Whatsapp of 2020?
Subscribe Me: Aayush YEET
Subscribe: TechParadise
Download – Lalala